Board contents
Text extracted from this public whiteboard for search and accessibility.
Raspberry Pi first boot & headless SSH setup
Session 01 · First boot & headless SSH
A complete, generic setup: flash Raspberry Pi OS, configure Wi‑Fi + SSH in the Imager, boot without a monitor, and log in from your laptop.
Goal for this session
By the end you can: 1) Write Raspberry Pi OS to a microSD card from your Mac/Windows/Linux PC 2) Boot any Wi‑Fi capable Pi (Zero 2 W, Pi 4, or Pi 5) with no monitor 3) Reach it with ping and ssh using hostname.local 4) Update packages and create a working folder for later sessions
Parts checklist
• Raspberry Pi with Wi‑Fi (Zero 2 W / 4 / 5) • microSD card 16GB+ (A2/V30 recommended) • USB card reader • Official or quality USB power supply (Pi 5: 27W USB‑C PSU strongly recommended) • Your laptop on the same Wi‑Fi/LAN • Optional: case, heatsink/cooler
Software on the laptop
• Raspberry Pi Imager (from raspberrypi.com/software) • Terminal (macOS/Linux) or Windows Terminal • Optional later: an SFTP client (FileZilla / Cyberduck) You do NOT need a HDMI monitor for this path.
Step 1 — Install Imager & insert the SD card
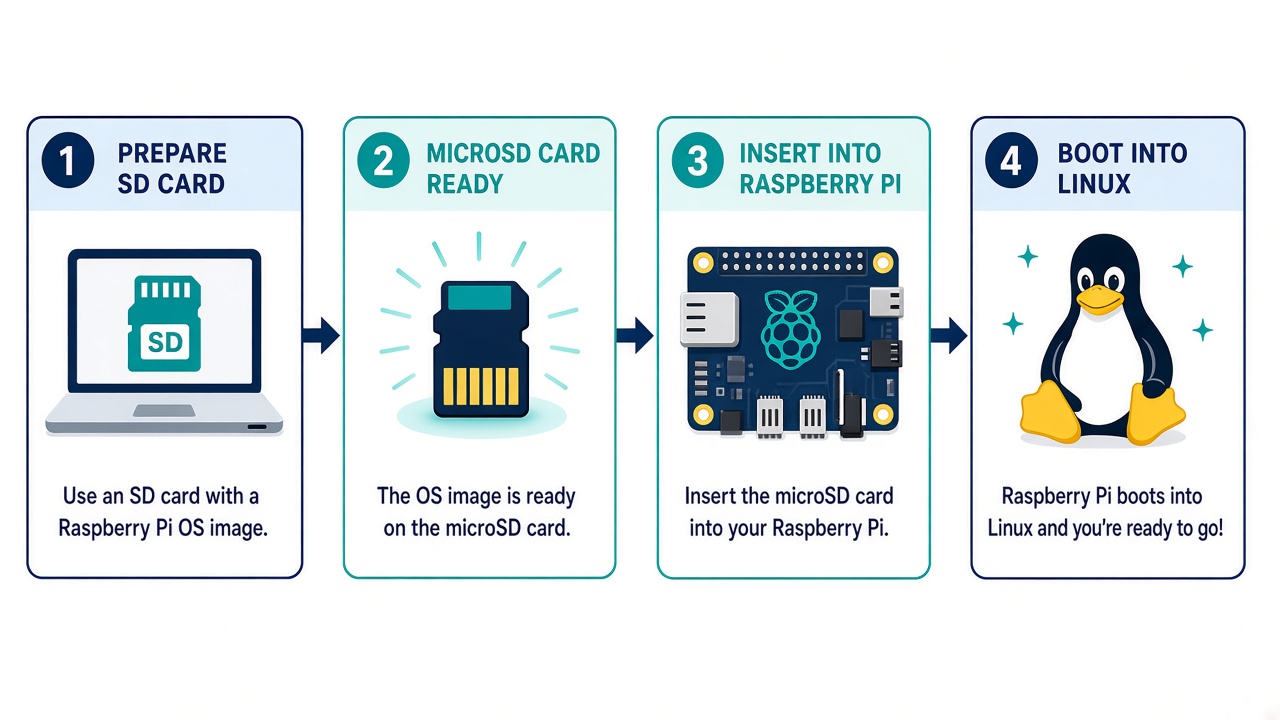
1. Download and install Raspberry Pi Imager for your OS 2. Insert the microSD via a card reader 3. Open Imager 4. Choose Device (your exact board, e.g. Raspberry Pi Zero 2 W or Pi 5) 5. Choose OS → Raspberry Pi OS (64‑bit) Prefer the full or “with desktop” image if unsure; Lite also works headless 6. Choose Storage → your SD card (double‑check the disk name!)
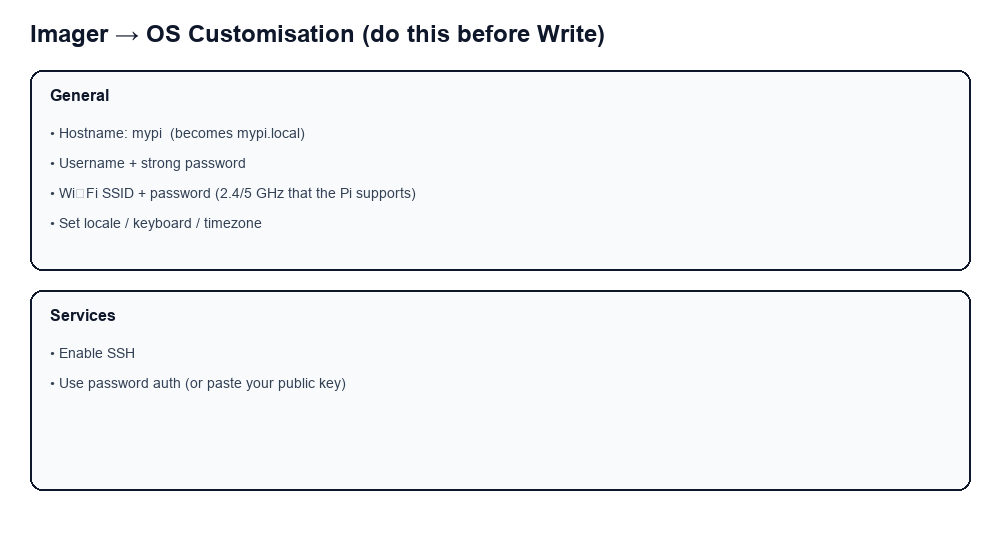
Step 2 — OS Customisation (critical before Write)
Click Next → Edit Settings (or the gear icon). GENERAL tab • Hostname: mypi → you will connect to mypi.local (use letters/numbers/hyphens only; keep it short) • Username: piuser (or your name) — avoid reusing weak defaults forever • Password: a strong password you will remember • Wireless LAN: your home/phone-hotspot SSID + password Tip: phones’ hotspots are great for first bring-up away from a desk • Set wireless LAN country / locale / timezone SERVICES tab • Enable SSH • Use password authentication (simplest start) Advanced: paste your SSH public key instead Save → Yes, apply customisation → Write. Wait until Imager says it’s done, then safely eject the SD card.
Step 3 — Boot the Pi
1. Insert SD into the Pi (contacts facing the board) 2. Connect power only — no monitor needed 3. Wait 90–180 seconds on first boot (it expands the filesystem and may reboot once) 4. Put your laptop on the SAME Wi‑Fi/LAN 5. Green ACT LED activity is a good sign
Step 4 — Find the Pi
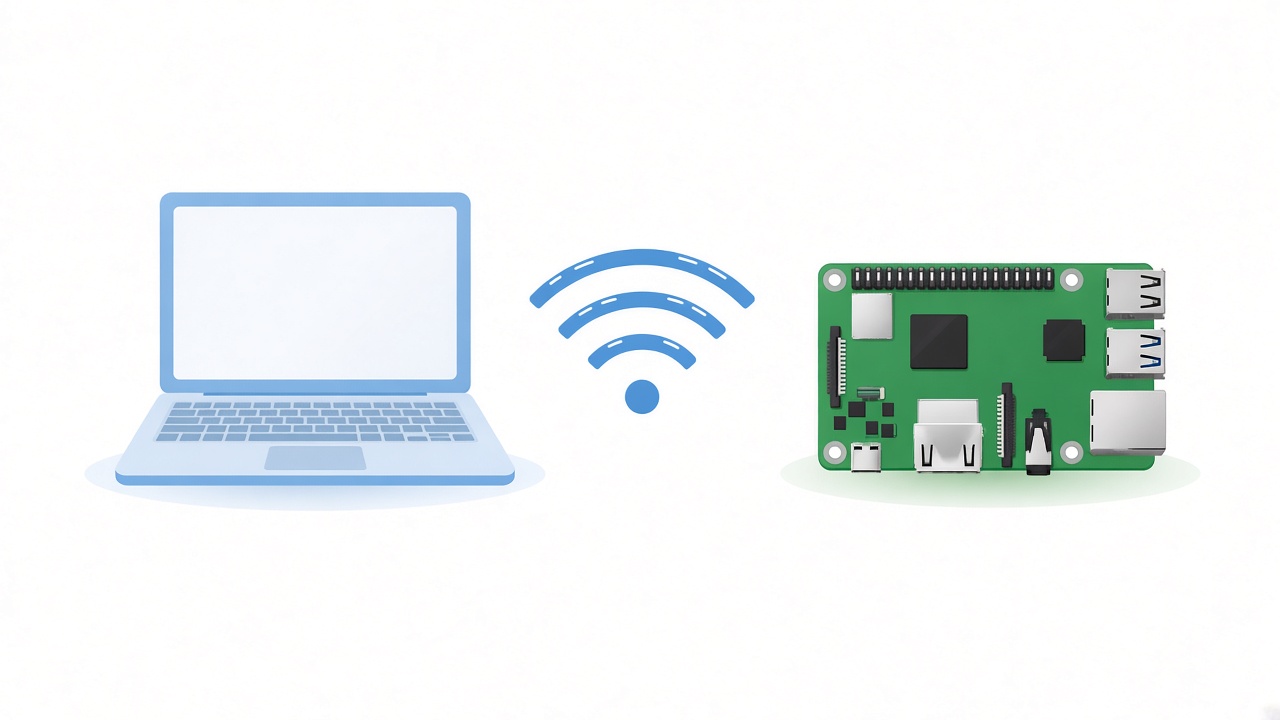
On your laptop: ping mypi.local If that fails, check your router’s DHCP client list for a new device and ping the IP instead. macOS/Windows usually support .local (mDNS). Some corporate networks block it — use the IP.
Step 5 — SSH in
Step 6 — First updates (still on the Pi)
Troubleshooting
No ping / no SSH • Wrong Wi‑Fi password in Imager → reflash • Laptop on different network/VLAN • Wait longer; first boot is slow • Try phone hotspot for both devices • Read the IP from your router admin page SSH host key warning after reflash ssh-keygen -R mypi.local ssh-keygen -R <old-ip>
You’re done with Session 01 when…
☐ ping mypi.local works ☐ ssh piuser@mypi.local works ☐ hostname matches what you set ☐ apt update succeeds ☐ ~/projects exists Next: Session 02 — run a real Flask website on this Pi and open it from your laptop browser.
ssh piuser@mypi.local
# first time: type yes to trust the host key
# then enter the password you set in Imager

# quick identity checks
hostname
whoami
uname -a
ip -br a
sudo apt update && sudo apt full-upgrade -y
sudo reboot

# After reboot, SSH again. Create a projects folder:
  mkdir -p ~/projects && ls ~

# Optional quality-of-life:
  sudo apt install -y git curl htop tmux