chalkline

Public teaching whiteboard

Raspberry Pi motion camera project

Build a motion-detecting camera on Raspberry Pi — free public vision tutorial board. · by zlu

Topics: Raspberry Pi tutorials

Raspberry Pi motion camera project

Session 06 · Computer vision: motion camera

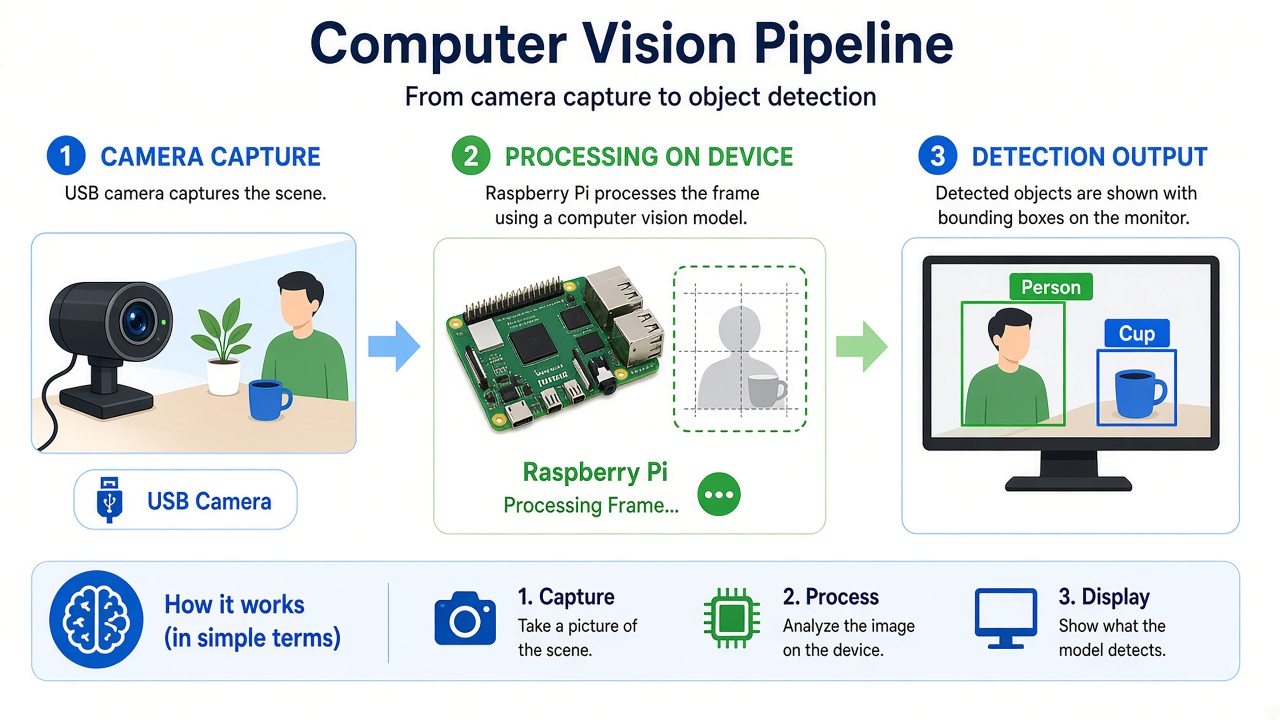
Plug in a USB webcam, install OpenCV, and run a complete motion‑detect script that saves snapshots when something moves.

What you need

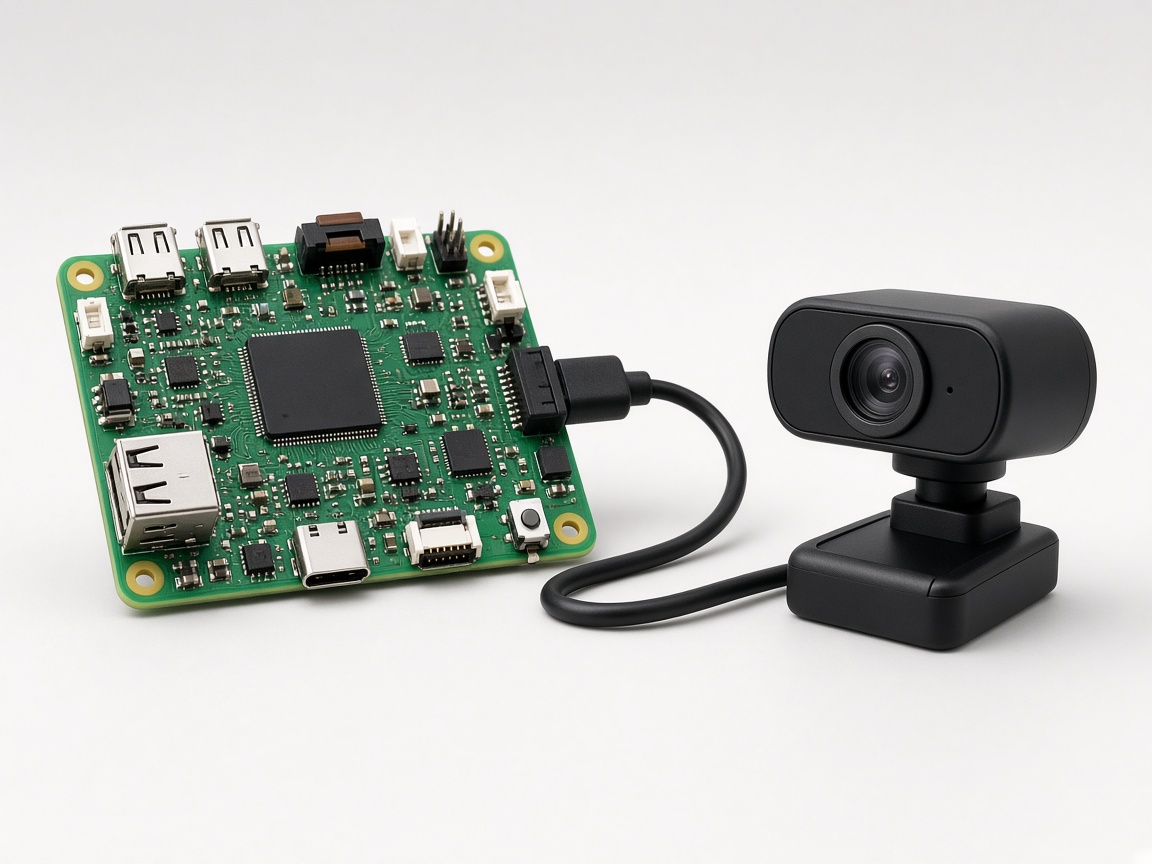
• Pi 4 or Pi 5 recommended (Zero works for tiny scripts only) • USB webcam (easiest) OR Pi Camera Module • Session 01 SSH working • ~2GB free disk for packages + images

What you will build

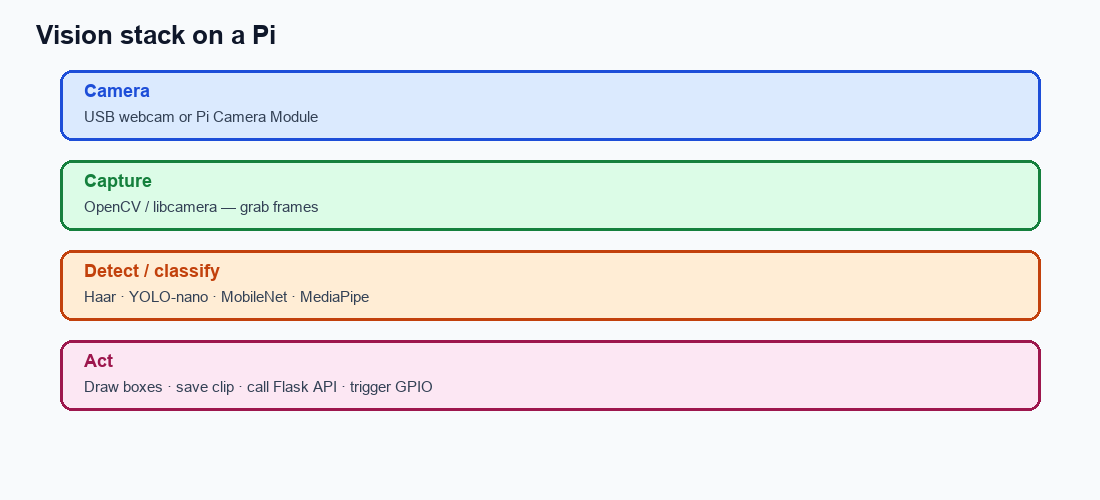
A Python program that: 1) Opens the camera 2) Compares frames 3) When motion exceeds a threshold, writes a JPG into ~/projects/vision/captures/

Step 1 — See the camera

lsusb | grep -i cam || lsusb sudo apt update sudo apt install -y python3-venv python3-pip libopencv-dev # for CSI Pi Camera instead of USB, also explore: rpicam-hello mkdir -p ~/projects/vision/captures cd ~/projects/vision python3 -m venv .venv source .venv/bin/activate pip install --upgrade pip pip install opencv-python-headless numpy echo -e 'opencv-python-headless\nnumpy' > requirements.txt

Step 2 — Smoke test: grab one frame

nano ~/projects/vision/snap.py import cv2 from pathlib import Path cap = cv2.VideoCapture(0) ok, frame = cap.read() cap.release() if not ok: raise SystemExit('No frame — check camera index / cable') out = Path('captures/test.jpg') cv2.imwrite(str(out), frame) print('wrote', out.resolve(), 'shape', frame.shape) python snap.py ls -la captures/ # copy to laptop if you want to view: scp piuser@mypi.local:~/projects/vision/captures/test.jpg .

Step 3 — Full motion detector

nano ~/projects/vision/motion.py import time from datetime import datetime from pathlib import Path import cv2 OUT = Path('captures'); OUT.mkdir(exist_ok=True) THRESH = 25 # sensitivity (lower = more sensitive) AREA_MIN = 5000 # ignore tiny noise blobs COOLDOWN = 2.0 # seconds between saves cap = cv2.VideoCapture(0) cap.set(cv2.CAP_PROP_FRAME_WIDTH, 640) cap.set(cv2.CAP_PROP_FRAME_HEIGHT, 360) ok, prev = cap.read() if not ok: raise SystemExit('camera failed') prev_gray = cv2.cvtColor(prev, cv2.COLOR_BGR2GRAY) prev_gray = cv2.GaussianBlur(prev_gray, (21, 21), 0) last_save = 0.0 print('motion detector running — Ctrl+C to stop') try: while True: ok, frame = cap.read() if not ok: break gray = cv2.GaussianBlur(cv2.cvtColor(frame, cv2.COLOR_BGR2GRAY), (21, 21), 0) delta = cv2.absdiff(prev_gray, gray) _, mask = cv2.threshold(delta, THRESH, 255, cv2.THRESH_BINARY) mask = cv2.dilate(mask, None, iterations=2) contours, _ = cv2.findContours(mask, cv2.RETR_EXTERNAL, cv2.CHAIN_APPROX_SIMPLE) moved = any(cv2.contourArea(c) > AREA_MIN for c in contours) now = time.time() if moved and now - last_save > COOLDOWN: name = OUT / f"motion_{datetime.now():%Y%m%d_%H%M%S}.jpg" cv2.imwrite(str(name), frame) print('saved', name) last_save = now prev_gray = gray finally: cap.release()

Step 4 — Run it

cd ~/projects/vision source .venv/bin/activate python motion.py Wave your hand in front of the camera. New JPGs should appear in captures/. Tune THRESH / AREA_MIN if it’s too noisy or not sensitive enough.

Step 5 — Stretch goals

• Serve latest capture via Flask (Session 02) • Only save between 22:00–06:00 • On motion, hit a webhook / MQTT topic • Swap motion logic for MediaPipe face detect • Package with Docker (Session 05) + device: /dev/video0 mount

Checklist

☐ snap.py writes test.jpg ☐ motion.py saves files when you move ☐ You can change sensitivity without guessing which file to edit Next: Session 07 — classify images with a small ML model instead of raw motion.

Drag to pan · scroll to zoom · read-only

Board contents

Text extracted from this public whiteboard for search and accessibility.

Raspberry Pi motion camera project

Session 06 · Computer vision: motion camera

Plug in a USB webcam, install OpenCV, and run a complete motion‑detect script that saves snapshots when something moves.

What you need

• Pi 4 or Pi 5 recommended (Zero works for tiny scripts only) • USB webcam (easiest) OR Pi Camera Module • Session 01 SSH working • ~2GB free disk for packages + images

What you will build

A Python program that: 1) Opens the camera 2) Compares frames 3) When motion exceeds a threshold, writes a JPG into ~/projects/vision/captures/

Step 1 — See the camera

lsusb | grep -i cam || lsusb sudo apt update sudo apt install -y python3-venv python3-pip libopencv-dev # for CSI Pi Camera instead of USB, also explore: rpicam-hello mkdir -p ~/projects/vision/captures cd ~/projects/vision python3 -m venv .venv source .venv/bin/activate pip install --upgrade pip pip install opencv-python-headless numpy echo -e 'opencv-python-headless\nnumpy' > requirements.txt

Step 2 — Smoke test: grab one frame

nano ~/projects/vision/snap.py import cv2 from pathlib import Path cap = cv2.VideoCapture(0) ok, frame = cap.read() cap.release() if not ok: raise SystemExit('No frame — check camera index / cable') out = Path('captures/test.jpg') cv2.imwrite(str(out), frame) print('wrote', out.resolve(), 'shape', frame.shape) python snap.py ls -la captures/ # copy to laptop if you want to view: scp piuser@mypi.local:~/projects/vision/captures/test.jpg .

Step 3 — Full motion detector

nano ~/projects/vision/motion.py import time from datetime import datetime from pathlib import Path import cv2 OUT = Path('captures'); OUT.mkdir(exist_ok=True) THRESH = 25 # sensitivity (lower = more sensitive) AREA_MIN = 5000 # ignore tiny noise blobs COOLDOWN = 2.0 # seconds between saves cap = cv2.VideoCapture(0) cap.set(cv2.CAP_PROP_FRAME_WIDTH, 640) cap.set(cv2.CAP_PROP_FRAME_HEIGHT, 360) ok, prev = cap.read() if not ok: raise SystemExit('camera failed') prev_gray = cv2.cvtColor(prev, cv2.COLOR_BGR2GRAY) prev_gray = cv2.GaussianBlur(prev_gray, (21, 21), 0) last_save = 0.0 print('motion detector running — Ctrl+C to stop') try: while True: ok, frame = cap.read() if not ok: break gray = cv2.GaussianBlur(cv2.cvtColor(frame, cv2.COLOR_BGR2GRAY), (21, 21), 0) delta = cv2.absdiff(prev_gray, gray) _, mask = cv2.threshold(delta, THRESH, 255, cv2.THRESH_BINARY) mask = cv2.dilate(mask, None, iterations=2) contours, _ = cv2.findContours(mask, cv2.RETR_EXTERNAL, cv2.CHAIN_APPROX_SIMPLE) moved = any(cv2.contourArea(c) > AREA_MIN for c in contours) now = time.time() if moved and now - last_save > COOLDOWN: name = OUT / f"motion_{datetime.now():%Y%m%d_%H%M%S}.jpg" cv2.imwrite(str(name), frame) print('saved', name) last_save = now prev_gray = gray finally: cap.release()

Step 4 — Run it

cd ~/projects/vision source .venv/bin/activate python motion.py Wave your hand in front of the camera. New JPGs should appear in captures/. Tune THRESH / AREA_MIN if it’s too noisy or not sensitive enough.

Step 5 — Stretch goals

• Serve latest capture via Flask (Session 02) • Only save between 22:00–06:00 • On motion, hit a webhook / MQTT topic • Swap motion logic for MediaPipe face detect • Package with Docker (Session 05) + device: /dev/video0 mount

Checklist

☐ snap.py writes test.jpg ☐ motion.py saves files when you move ☐ You can change sensitivity without guessing which file to edit Next: Session 07 — classify images with a small ML model instead of raw motion.